Food Photography Tutorial: How to Take Moody Food Photos
October 17, 2016
Hey ladies! It’s Kaylie from Paleoglutenfree.com. I am a 20 year old recipe developer, food stylist, and photographer based out of the Pacific Northwest. I love to celebrate life through beautiful food, a camera in hand, and sharing this passion for beautiful, whole foods with others.
Today I am going to be sharing how to create stunningly moody food photos with depth and feel! To do this, the only extra tools you will need is a black foam core board or a black foam chalkboard. This easy tutorial will have you on your way to creating stellar images in no time! Stay tuned:)
First of all, I wanted to create this post so that other aspiring food photographers would have a reference that would spur their learning and knowledge. I have spent hours and hours, days and nights of staying up till morning hours studying and teaching myself the art of food photography. Most days I am consumed with creating, so I am always learning. The process never stays the same. Never have I arrived. I simply wanted to share what I have discovered to be useful.

FINDING YOUR OWN PERSONAL STYLE
The ever-changing world of food photography can be overwhelming. With the ebb and flow of trend and style, food photography is a place of inspiration, but it can also have the opposite effect. When I am sitting on the other side of the screen, I have sometimes found myself getting discouraged. Comparing my work to others who are far more talented than I only gets me down and does little to inspire me. So I preface with this: surround yourself with inspiration, but not so much that you lose sight of the goal. Focus mainly on creating your own unique and stellar content. Tap into your own genius and leave the rest up for future learning opportunities.
Creating an atmosphere is up to the photographer. A photographer’s job is to tell a story without using words. Keeping this in mind, the imagination will be the biggest asset to the photographer. Let your mind explore new ideas. Create always. Make mistakes. Try time and time again. Practice over and over. Never stop learning, and don’t give up on your dream. Part of learning how to photograph well comes from learning and studying others who have mastered the skill. On the other hand, pure passion and imagination will take you much farther. The drive to create a beautiful space and atmosphere is the key to creating quality content.
Photography isn’t just a sequence of dos and don’ts. It is an emotion, expression, and something that comes from the heart. My advice is: don’t be afraid to try new things. Try something new with every photo shoot. This is the best way to learn! I promise that you will walk away with at least one more tool of knowledge in your bag. Once you have experimented with a myriad of different lighting situations, you will get a feel for your own signature style. From there, the sky is the limit! Remember, learning and mastering a skill doesn’t happen overnight. So have the mindset that you are here to learn.
ISN’T THERE MORE TO IT THEN JUST PURE IMAGINATION?
Why, yes! There is! So, we talked about the big piece of personal creativity influencing images. But what about the other side? I hear you saying, “just give me the rules, would ya?” There are things that will improve your food photography, no matter who you are or what your personal style is. Now, let’s get into the nitty gritty guidelines on how to get your food images looking stellar! Want to take your food photography to the next level? Let’s explore a few ideas on how to do just that!
First off, there are numerous types of lighting situations in the food photography world.
Bright lighting creates a clean, fresh, and modern vibe. This type of lighting is perfect for product shoots and large, zoomed-in Pinterest images.
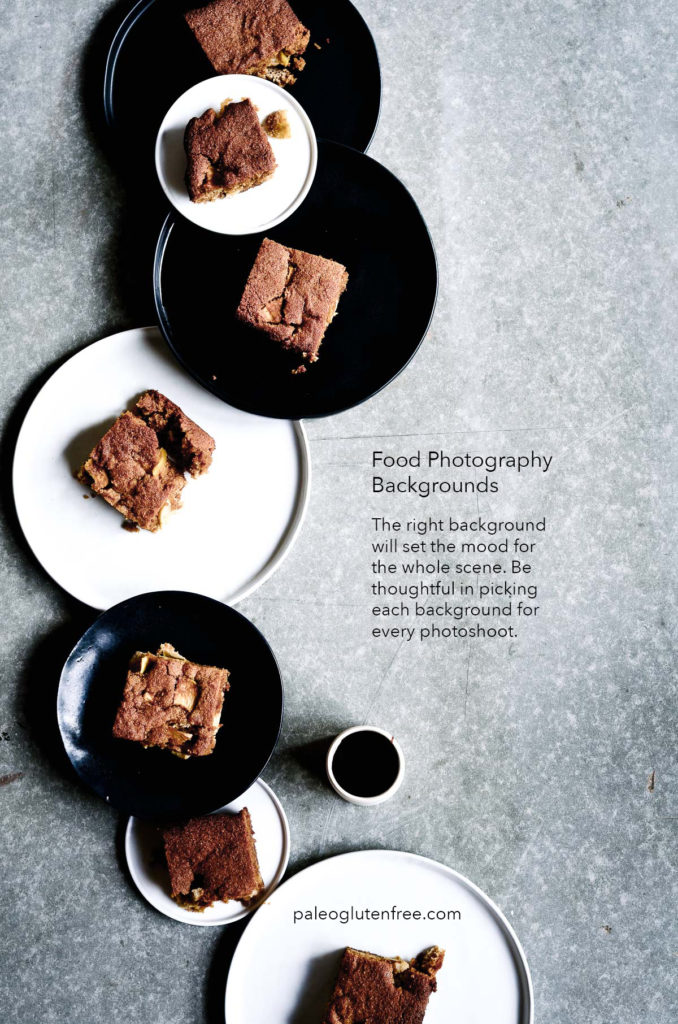
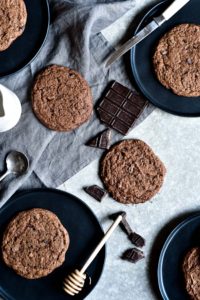
Moody lighting will create images that tell a story with depth and feel. Creating a deep and meaningful expression with food comes from a few simple tips. Learning how to maneuver light using angles, diffusers, and exposure will help you to create these moody images.
Since I tend to photograph more on the moody and lifestyle side of things, that’s what I’ll be sharing today! Stay tuned, though, because soon I will be posting another lesson on food photography. This next lesson will focus completely on creating bright, crisp, and clean food photographs! Don’t miss out! Sign up to be the first to receive the article on bright food photography.
HOW TO CREATE MOODY FOOD PHOTOGRAPHY
In order to create an easy food photography set-up, you will need the following. (For a full and in-depth look into the tools, resources, camera, lenses, etc. I use for food photography visit my page: Food Photography Resources).
- Black Foam Core Boards or Black Foam Chalkboards
- Tabletop background of choice. I create my own, but there are some awesome pre-made products out there. A few of these include backdrops from Erickson Wood Works, Crate & Barrel, and Etsy.
- Lighting Source–either natural light or Indoor Lighting Unit for Food Photography

ANGLE OF LIGHTING
Position the table, backdrop, or set up near a brightly-lit window. There are several ways to go from here.
Backlighting is one way to light your image. It is not my favorite though, because backlighting tends to wash out images and de-saturate everything. This makes images appear less clear and pristine.
Front Lighting is tricky. Solely lighting an image from the front will result in hash lighting. However, it is important to let a natural amount of light fall onto the space from the front. Enough light is needed to come from the front of the set up so that the details of the food come through clear in the camera. Refer to my images for an example. See how there is an open space in front of my set up where the light naturally falls from the window behind me? If you do not have enough light to properly light the front of your image, use this EGO Lighting Unit, which is perfect for food photography.

Side Lighting, now that’s where it’s at, in my opinion. Every photographer will have their own flare and opinion, but I love to light my photos from the side. Using side lighting, I will sometimes bounce that light with a diffuser, and then leave the front of the set up open to let natural light fall onto the food.
I encourage everyone to experiment and see which type of lighting best fits your style.
HOW TO CREATE MOODY FOOD PHOTOS WITH SIDE LIGHTING
So, digging a little deeper. I am going to walk you through how to create awesome and moody food photos using side lighting. Once the food is set up with backdrops and such, position the food near a brightly-lit window. Be sure though that direct sunlight is NOT coming through this window though. The natural light from the window should be soft. Experimenting with shooting during different hours of the day is the best way to find that “sweet spot” in natural light. This will vary from window to window and location to location. For me, the best hours to shoot are between 11-2pm, using a south facing window.
If the light coming through the window is still too harsh, you can easily diffuse it using either a sheer white curtain or a white diffuser.
HOW TO USE A BLACK DIFFUSER
In order to use the black diffuser to cast a warm shadow on the food, simply position it on one side of your set up. In your mind, choose where you want to shadow to lay and then proceed from there. Playing around with a diffuser will drastically alter your image! It can be really fun to experiment with light using a diffuser, so have fun!

ONE LAST THING…
Before you go, there is one last aspect to this equation to get it to look stylin’! The front of the image!!! Moody photos are great, but when you can’t even tell what you’re looking at, well, it’s pretty much worthless. So, the shadow or diffuser creates depth. We already have the light source in place, but in order for all of this to come together, we need to make sure that the front of the food is evenly lit. This allows your audience to see the details, which is good because I want you to take photos that make me want to eat. Like, NOW!
To do this, simply set yourself up so that you have one window on the side and another other behind you. An open space will also do the trick! Just make sure you aren’t backed up against a black wall that casts a shadow onto the front of the food. See the image diagram for reference. Boom! There it is! You are on your way to being a pro.
Also, I want to do this with you! Keep me in the loop by tagging your food photography progress on Instagram with @paleoglutenfreeeats I can’t wait to see your progress!
Facebook (https://www.facebook.com/paleoglutenfreeeats/)
Pinterest (https://www.pinterest.com/cookpaleo/)
Instagram (https://www.instagram.com/paleoglutenfreeeats/?hl=en)
Twitter (https://twitter.com/paleogfe)
Kaylie is the 20-year-old recipe developer, food stylist, and photographer behind her blog, paleoglutenfree.com. She’s based out the Pacific Northwest and loves mountain adventures, salty sprays of turquoise waters, and living and laughing with friends and family. She also loves to celebrate life through beautiful food, camera-in-hand, and share her passion for whole foods with others. Find her on Facebook or Instagram, or connect with her in one of our Facebook intensive groups!
Leave a Reply Cancel reply
CONTACT US
© 2024 . The Mommahood
All Rights Reserved.
Designed by Alyssa Joy & Co.
About Kristin
Resources
Coterie
Coaching
Join the Community
Get Updates
Let's Get Social
© 2024 . The Mommahood
All Rights Reserved.
Designed by Alyssa Joy & Co.
mommahoodmatters@gmail.com


