
Stylized Model Sessions {Be Featured with Haley}
So Last year at the first delight retreat I attended (previously known as “Pursuing the light”) I fell in love with doing “stylized model shoots” or “editorial style” you could call it. Anyways, before I attended the retreat last year I wasn’t sure what type of photography I wanted to pursue the most. But then at the retreat there was a photographer named Elise Liptack (check out her amazing work here: http://www.elisemariephotos.com/), who came to our retreat and helped put together a stylized model photo shoot for us photographers.
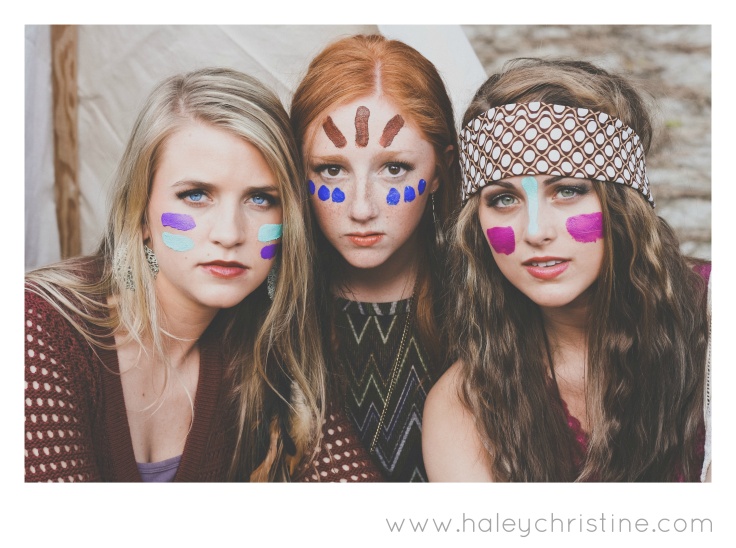
I then knew that was the type of photography I wanted to do, and then this past year I decided to pursue it more and try to head into that type of photography and (hopefully someday to become a full-time editorial photographer. ;) )
So around new years I made a promise to myself, kind of like a “new years resolution” you could say haha. But anyways, I decided that I would put together as many different stylized model photo shoots that I could possibly do through out this whole entire year, I can honestly say so far I have stuck to my promise!
And Recently I’ve had a few people come to me, asking how do I go about creating my stylized model photo shoots?
Well let me tell you it is a lot of work to put one together haha. ;) It takes a lot of planning, sketching, organizing, patience and contacting a lot of people/ stores!
Here is my step by step way of how I go about with each model shoot I put together.
Step 1:
“PINTEREST”
My oh my whatever would we do without pinterest! ;) So that is where I begin! I first create a board of a type of “theme” I am wanting to shoot for, I also have my creative team be a part of it so they can help pin ideas as well! Then my makeup artist creates a board for the style of makeup we want to aim towards for that certain theme photo shoot and same goes for my hairstylist.

Step 2:
“My INSPIRATION BOARD”
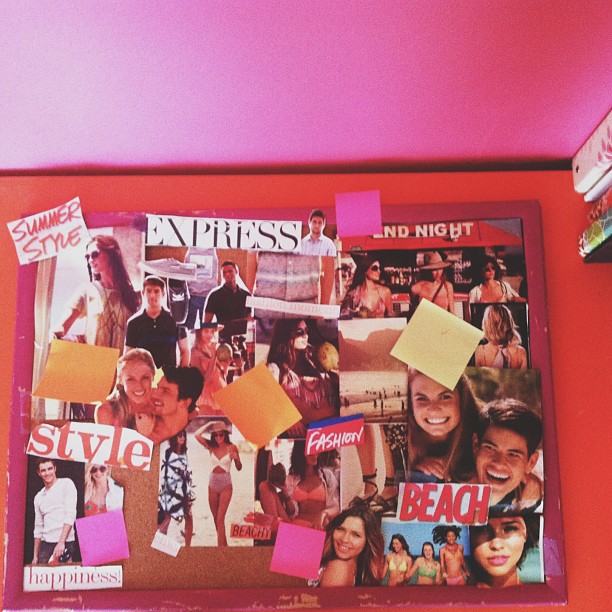
That is what I call it! Haha yes you all can make fun of my “cliché” board name!;) Oh well It works for now. And I will say, I just recently started it! My lovely, inspiration board is where I layout my ideas from cutting out magazines to printing out ideas from my “model theme pinterest boards!” Then I put those on my inspiration board also! I just continue to move everything around and just going along with the theme I had picked on my pinterest board. For example, right now my next stylized model shoot I am currently planning is a few different “Summer Fun Beach Shoots!” You can get an Idea here of what I am currently working on with my “inspiration board” :
Step 3:
“FINDING MODELS”
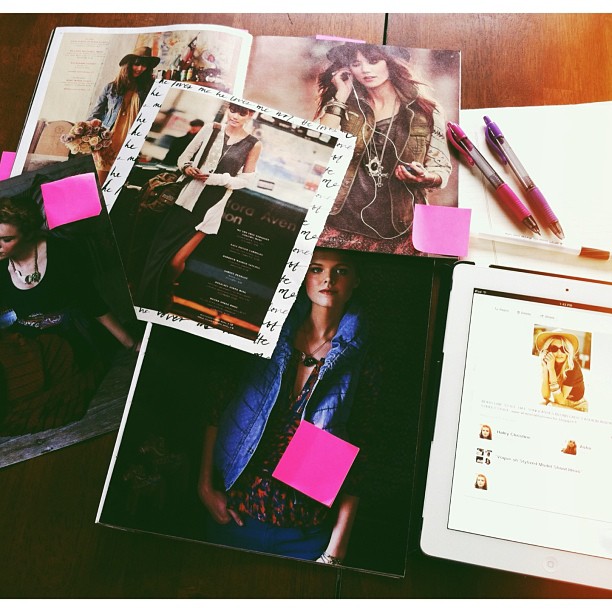
Okay, so let me just first off say that finding models in a small town can be SUPER hard! Especially when you prefer to work with models who are with agency’s! Just because they have had more experience and are easier to work, since they have done so many shoots before making it easier for you as the photographer. Then it also, helps get your name out there more and for other agency’s to see your work and hopefully pass along your name. Because it’s all about putting yourself out there as much as possible! Also, always make sure to put your copyright on any photo that you give to agency’s!
Step 4:
“CONTACTING LOCAL SMALL BOUTIQUES/ OR ANY ONLINE BOUTIQUES”
When I did my last model photo shoot , it didn’t quite go as well as I had planned it to go! Being, the clothes didn’t go with the theme we were shooting for, just kind of a mixture of everything…But I did learn a lot on what I need to do next time! Anyways, I first contacted as many local clothes stores that I could possibly find online. Then I even started contacting just small boutiques all over the States! Just sending out a massive load of e-mails to as many small stores as I could! Just basically asking them this:
“Hello,
My name is Haley Christine, I am a photographer and my design team are looking for companies or stores to lend clothes for our stylized model shoots. We would love to model your clothes. We would give you both credit and photos.
Thank you,
– Haley Christine”
Just simple, short and sweet! Also, My older sister has a fashion blog and so I would then contact the clothes stores that she works with, where they send her all these clothes and she just models the clothes for her them on her blog. I would then contact them basically saying the same thing above and adding a little something about taking photos for my sisters blog and how she has modeled their clothes before on her blog for them etc.
I was amazed to have even have had a few stores contact us back! Who were indeed willing to work with my creative team and I. So it was like a win, win for both sides! :)My creative team and I would then go find extra pieces in our own closets, goodwill, and local stores in town that we needed along, with the clothes the stores had sent to us.

Step 5:
“PHOTO SHOOT LOCATIONS”
And last but not least after my creative team and I have pretty much put everything together, we start scouting for different locations that would go with the theme of the type of model shoot we are going for. We also, try to make the locations for the photo shoot’s not too far from town, so everyone won’t have to travel that far and so we can stay close by the place where the models get hair,makeup and styling done.
That way if we don’t have a place for the models to change upon the location of the shoot, we can just quickly get back to the place where we got them ready for the photo shoot.
I also like to have as many different locations for each model shoot, usually up to 3-5 different areas for each model shoot. When we do 2-3 different outfit changes for one model shoot, we do a different location area for the photo shoot for each outfit change.
And there you have it! ;) (and you are probably super tired of my wink smiley faces by now! lol.) my 5 steps in how I plan/ put together a “stylized model photo shoot.” If you ever want to know a little more on how I go about with my stylized model shoots feel free to send me a message on…
my facebook: https://www.facebook.com/haley.christine.528?ref=tn_tnmn
or contact my e-mail here: Haley_Christine@live.com
Fb Pages: https://www.facebook.com/HaleyyChristine or https://www.facebook.com/HaleyChristineEngagementsWeddingPhotography
Website: www.haleychristine.com

xoxo,
–Haley Christine



Thank you so much for this post! I tend to try to find the location first (or early in the process) since that can sometimes determine what details can be used, etc. Example – if there are a lot of trees, lights or something hanging might be desirable but those same items wouldn’t work elsewhere. Loved hearing your process!